Do you know that when I started this blog, I thought “I will never post scrapbooking or everyday projects.” Do you know what I’m posting? Just that! Hopefully this is a fresh look on a fun and simple project. The goal is to find simple ways to connect with family and friends and cherish the memories!
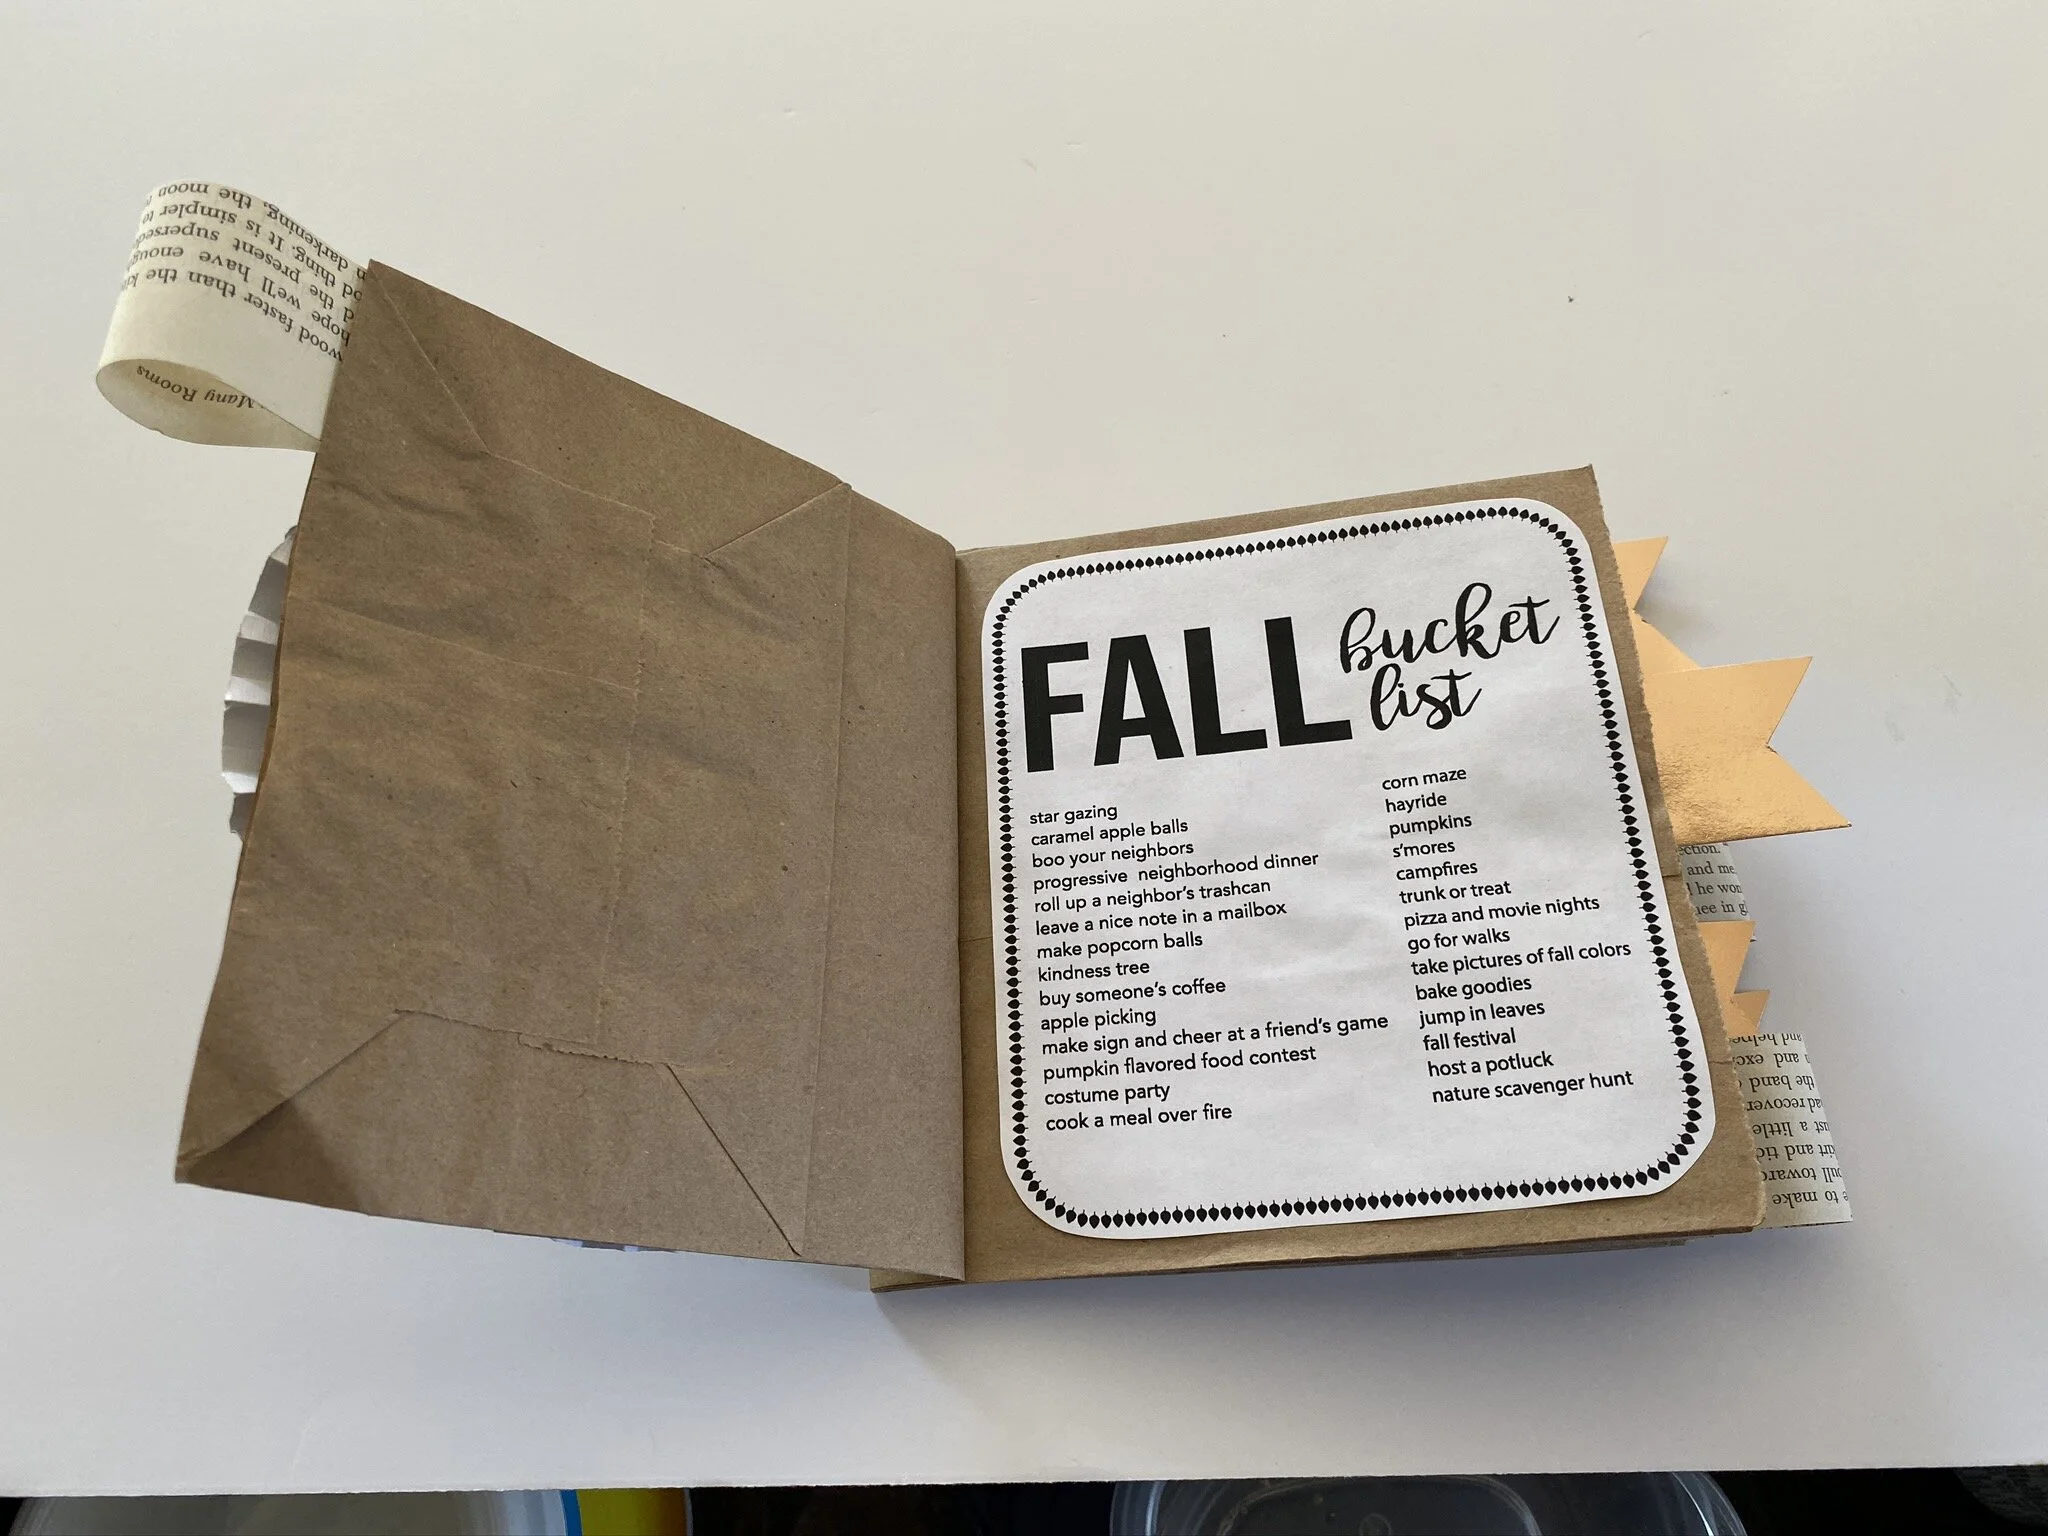
I designed a handful of quick sheets to be printed and pasted to make a fall journal. I’ll post photos below of our paper bag journal that is easy and fun to make. It includes my version of the fall bucket list that I’m looking forward to completing. I made these with some of our neighbor’s kids a few weekends ago and they loved it! Download and print your copy below. Feel free to comment and share pictures of what you make! #falljournal2019
Journal Supplies:
fall journal PDF
3 paper bags
hole punch
2 brads
cardstock
glue stick + hot glue
scissors
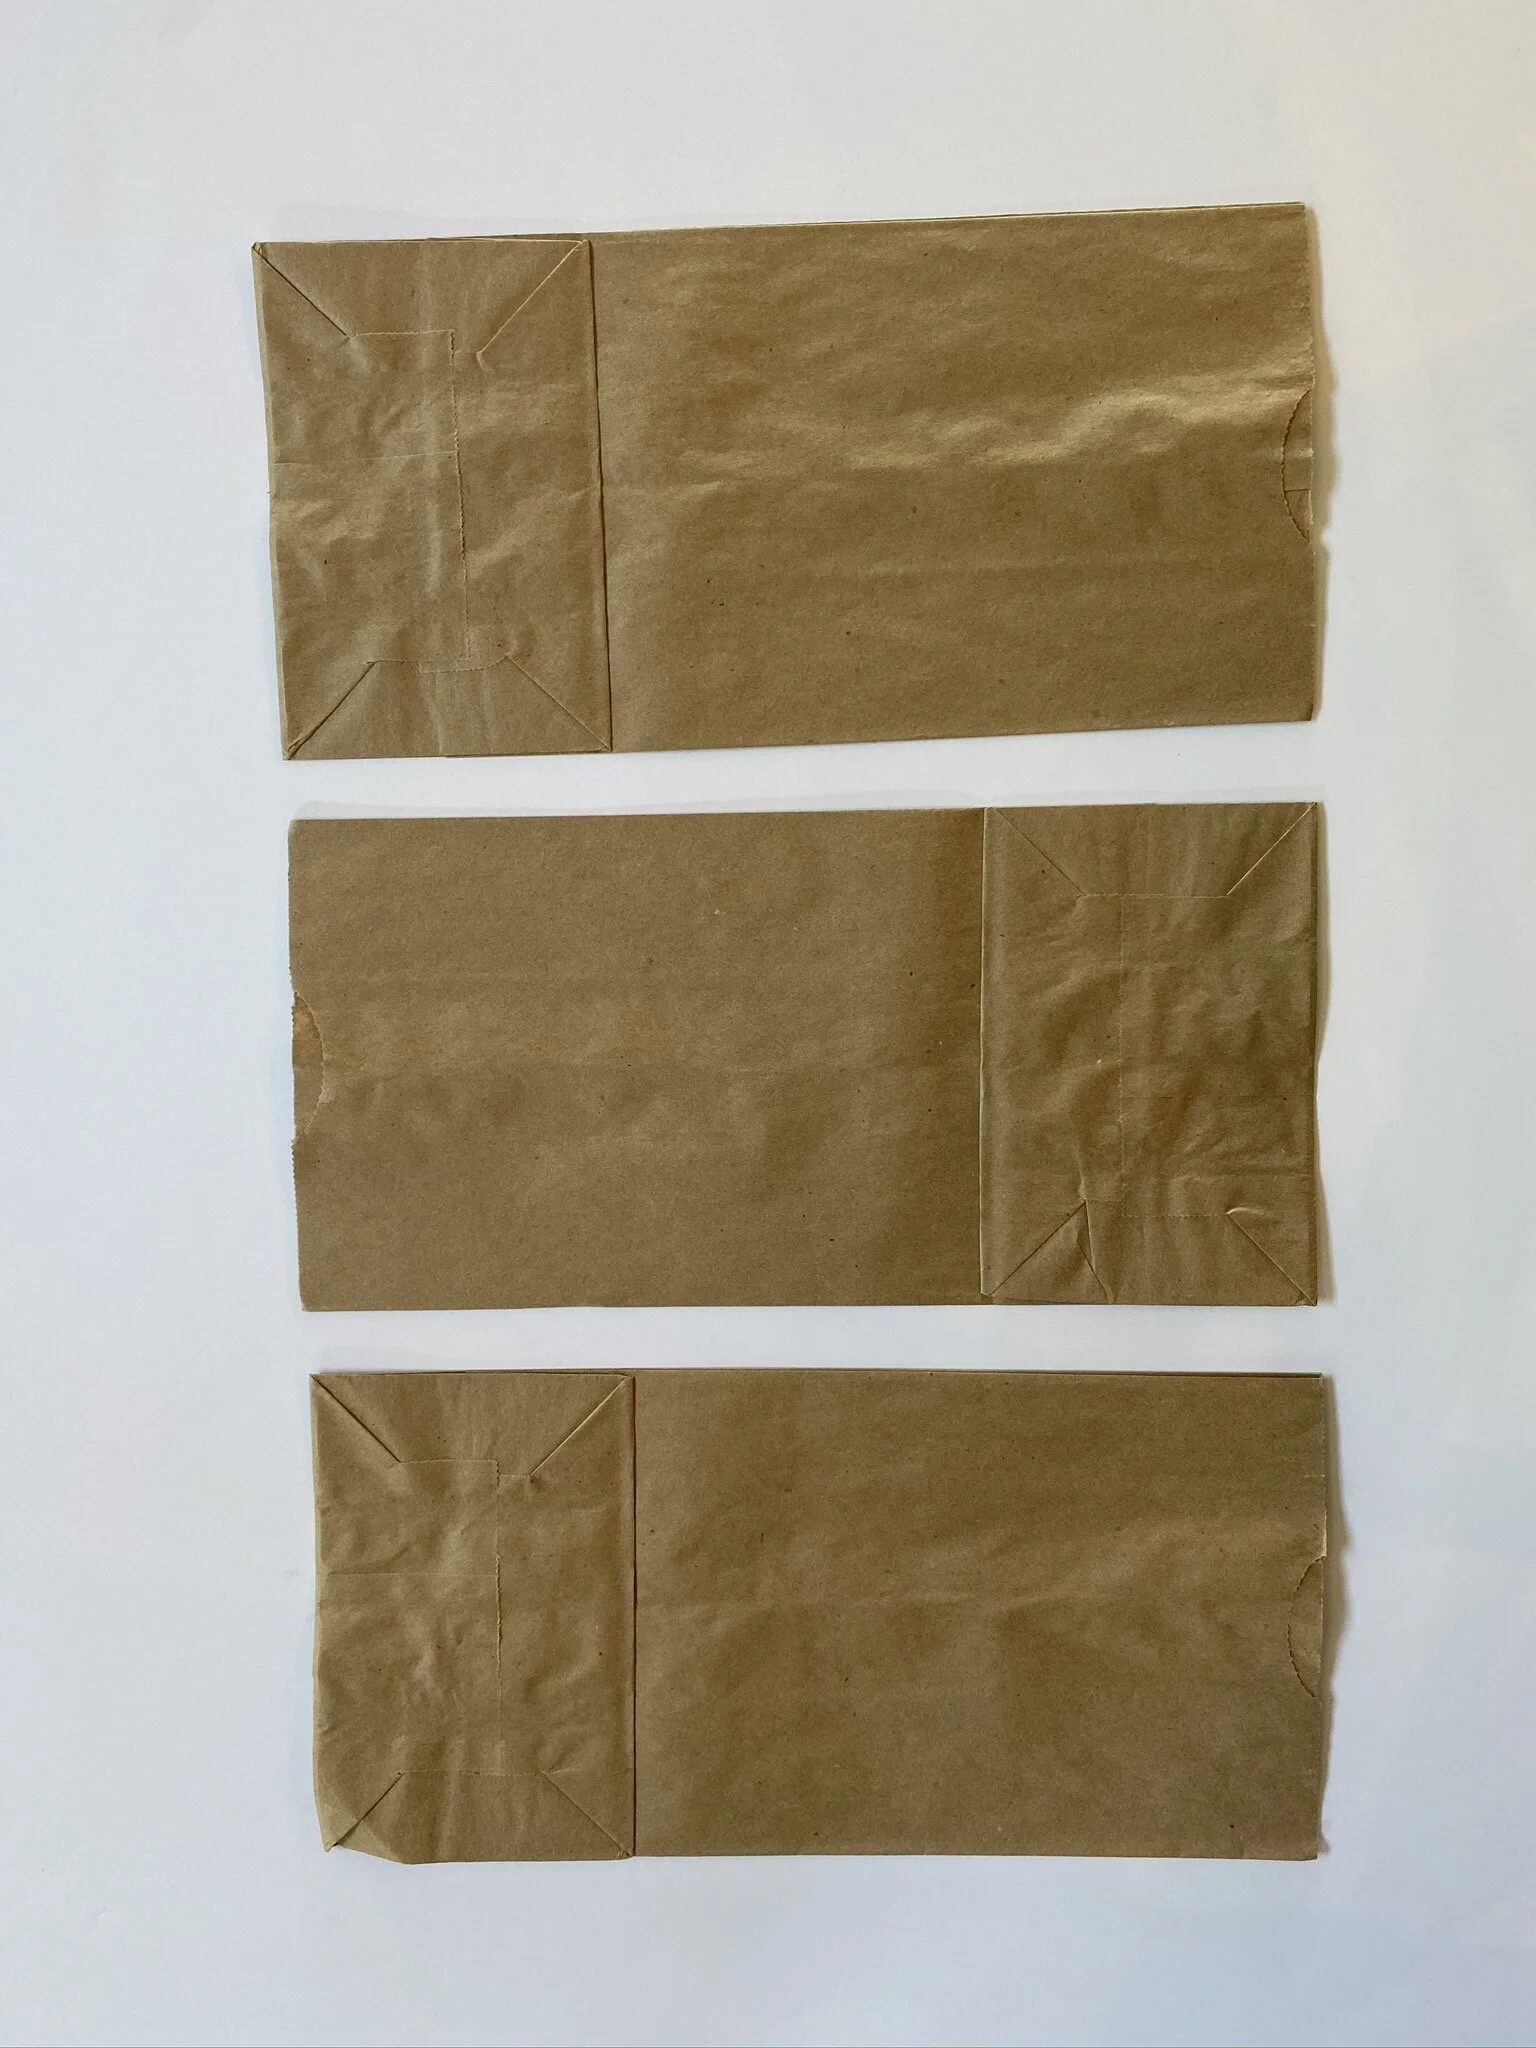
1. Grab three paper bags and layer them like picture. Any size will work, but these are the larger ones.
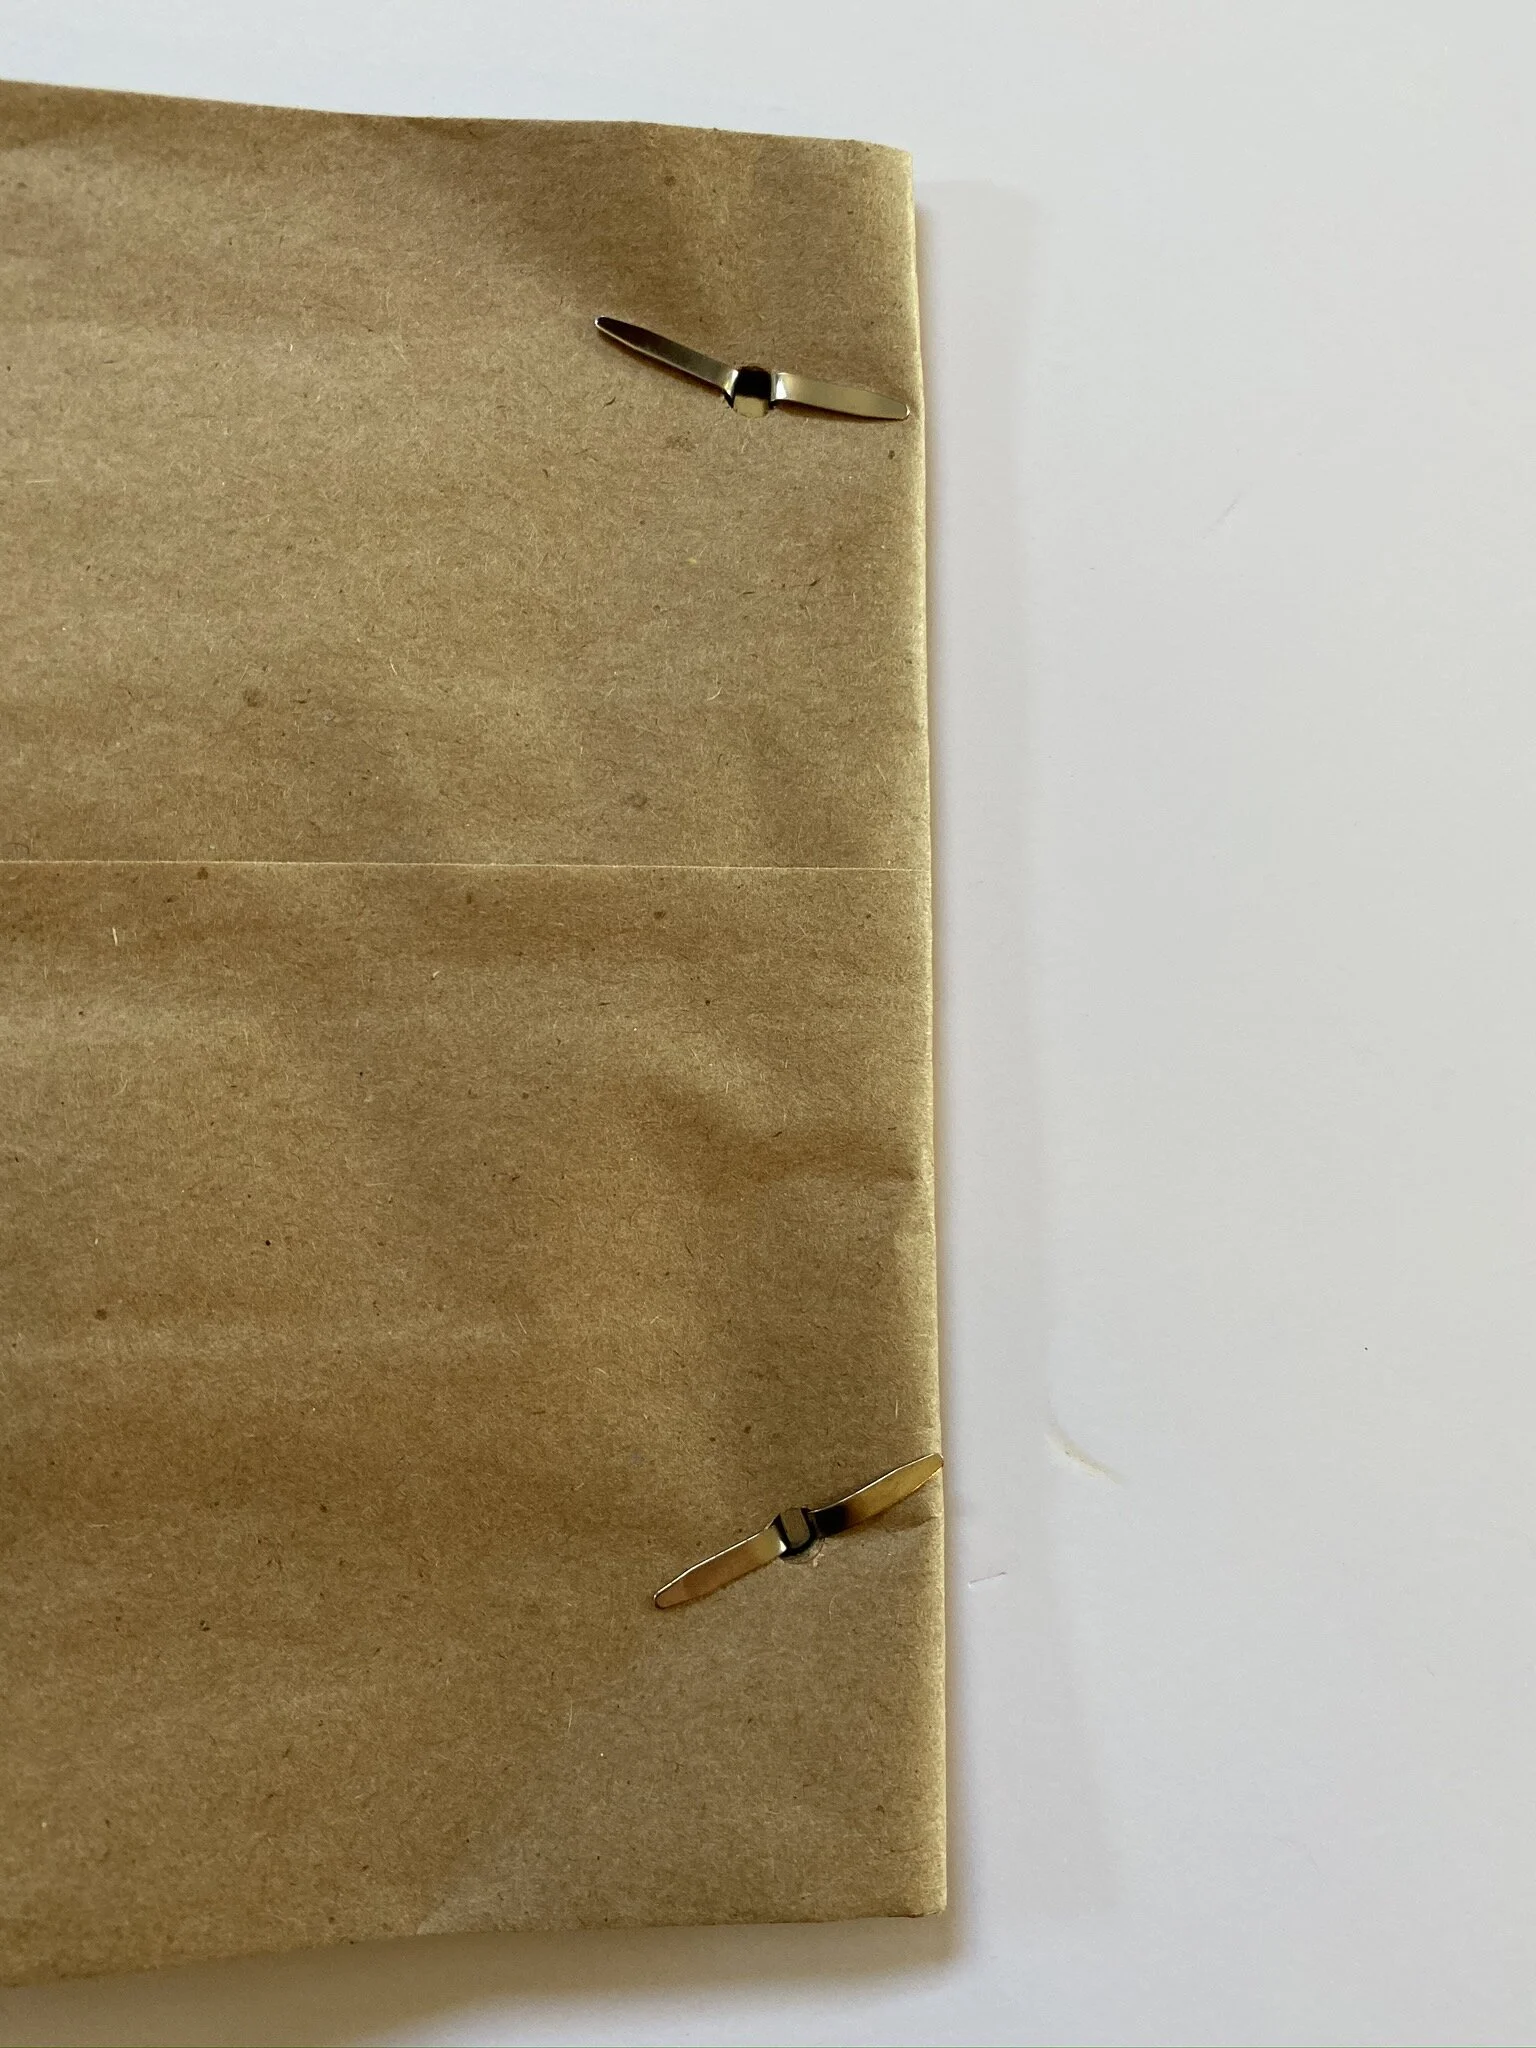
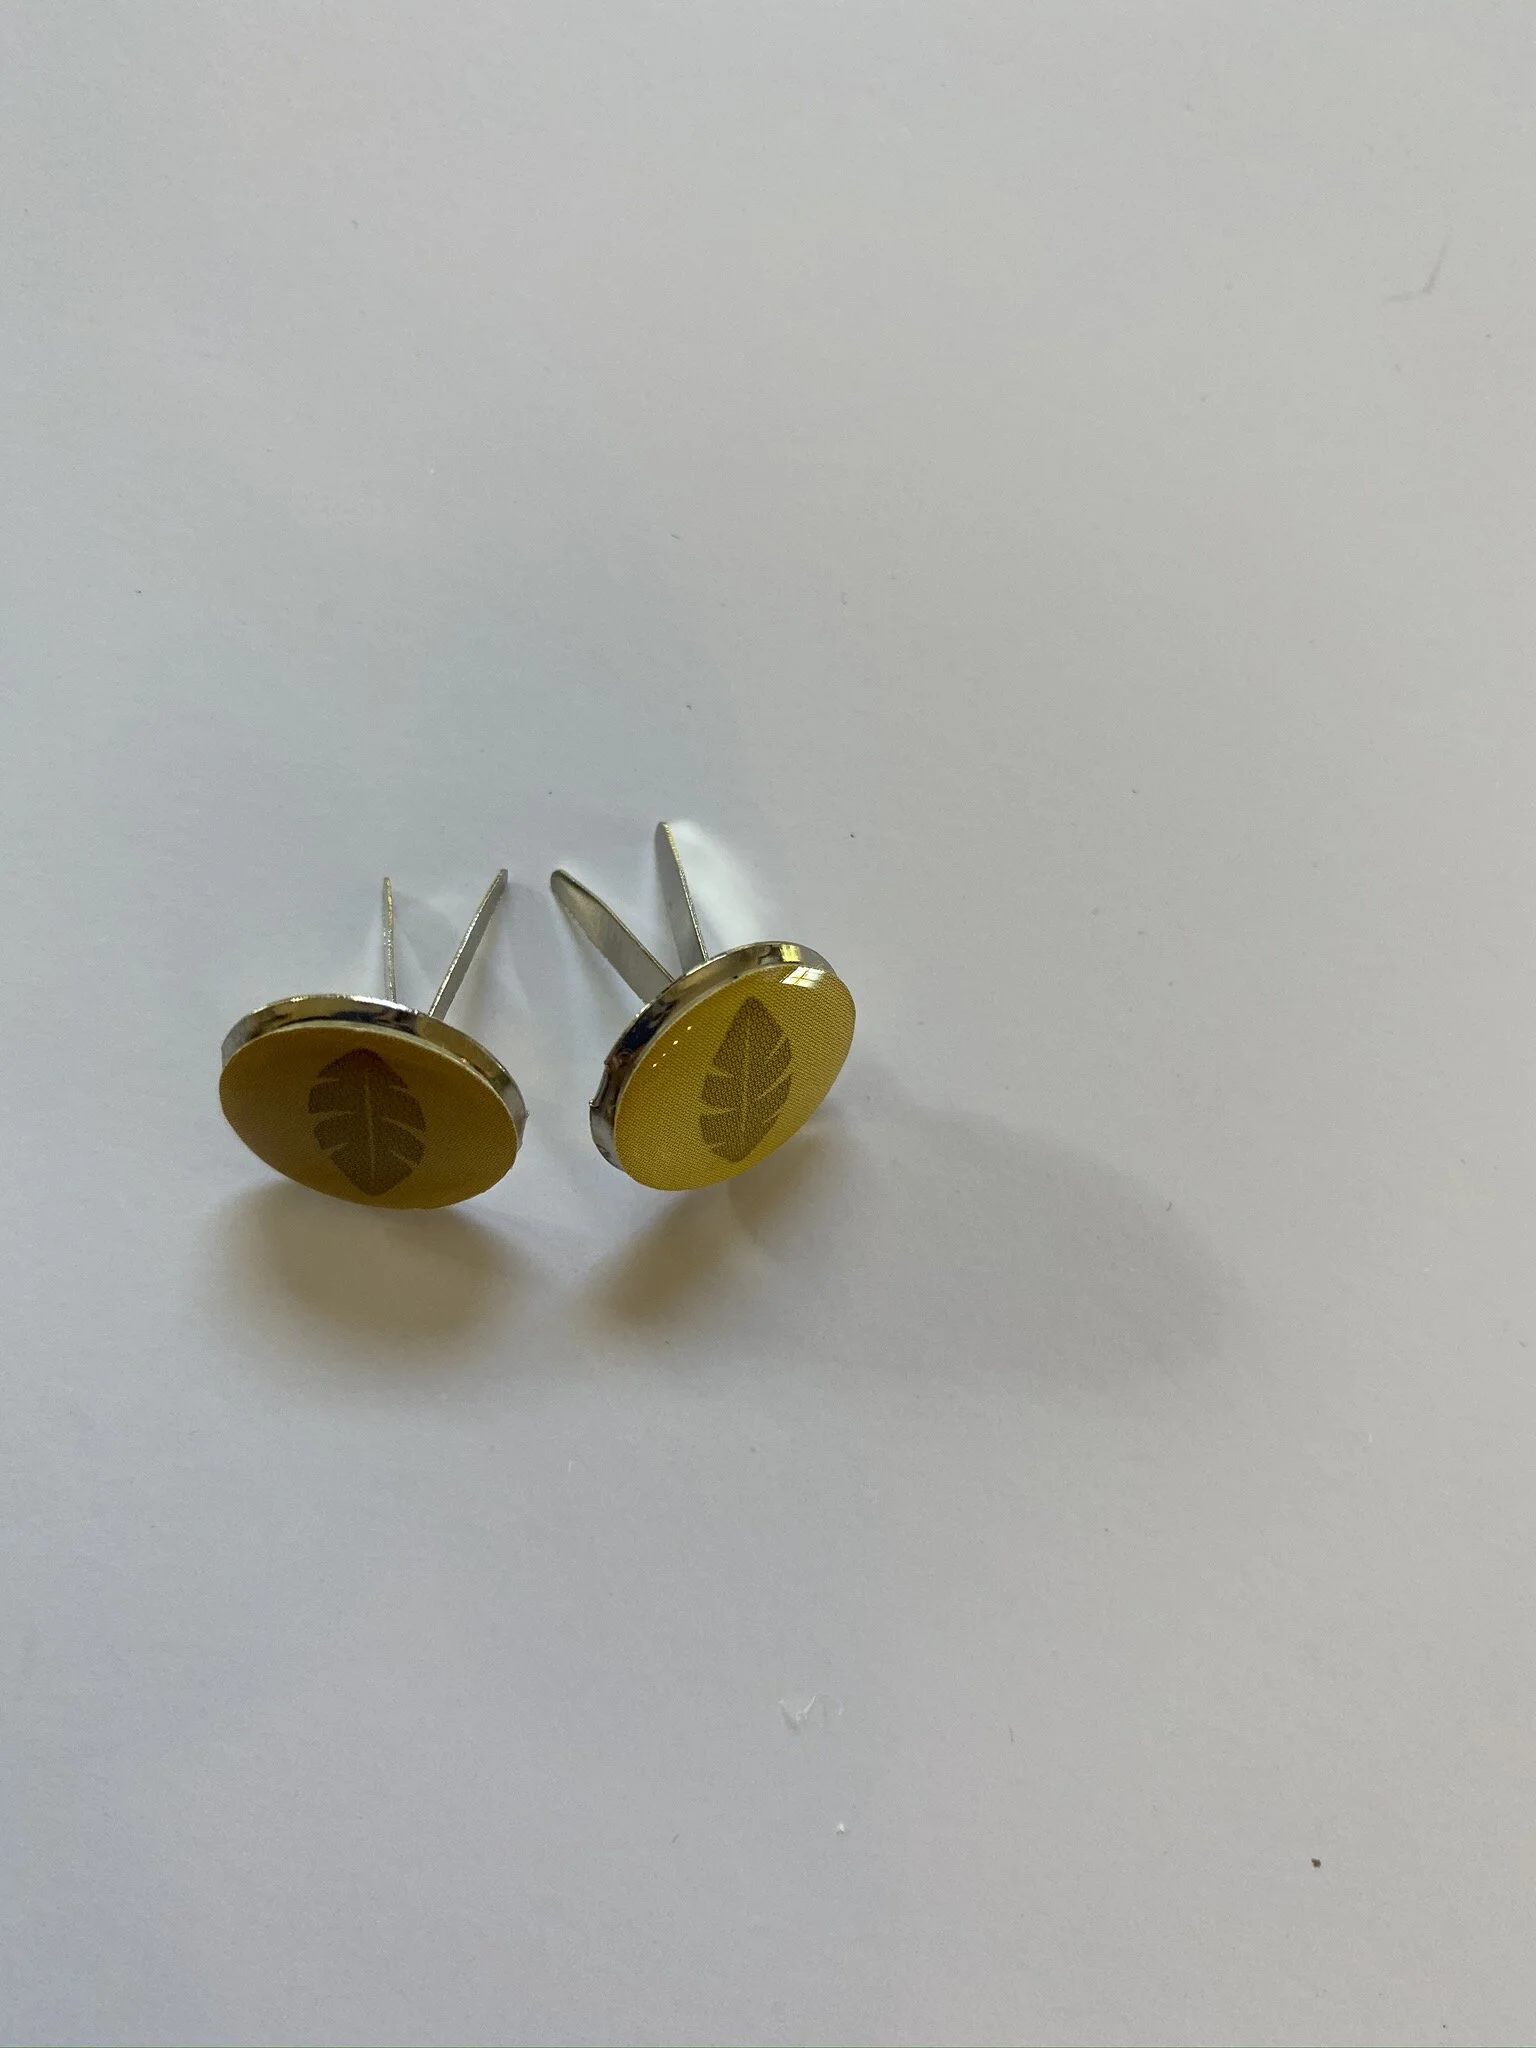
4. Place brads through holes and widen across the back to secure.
7. I used a regular glue stick to secure the printed and cut to size fall journal pages from my PDF.
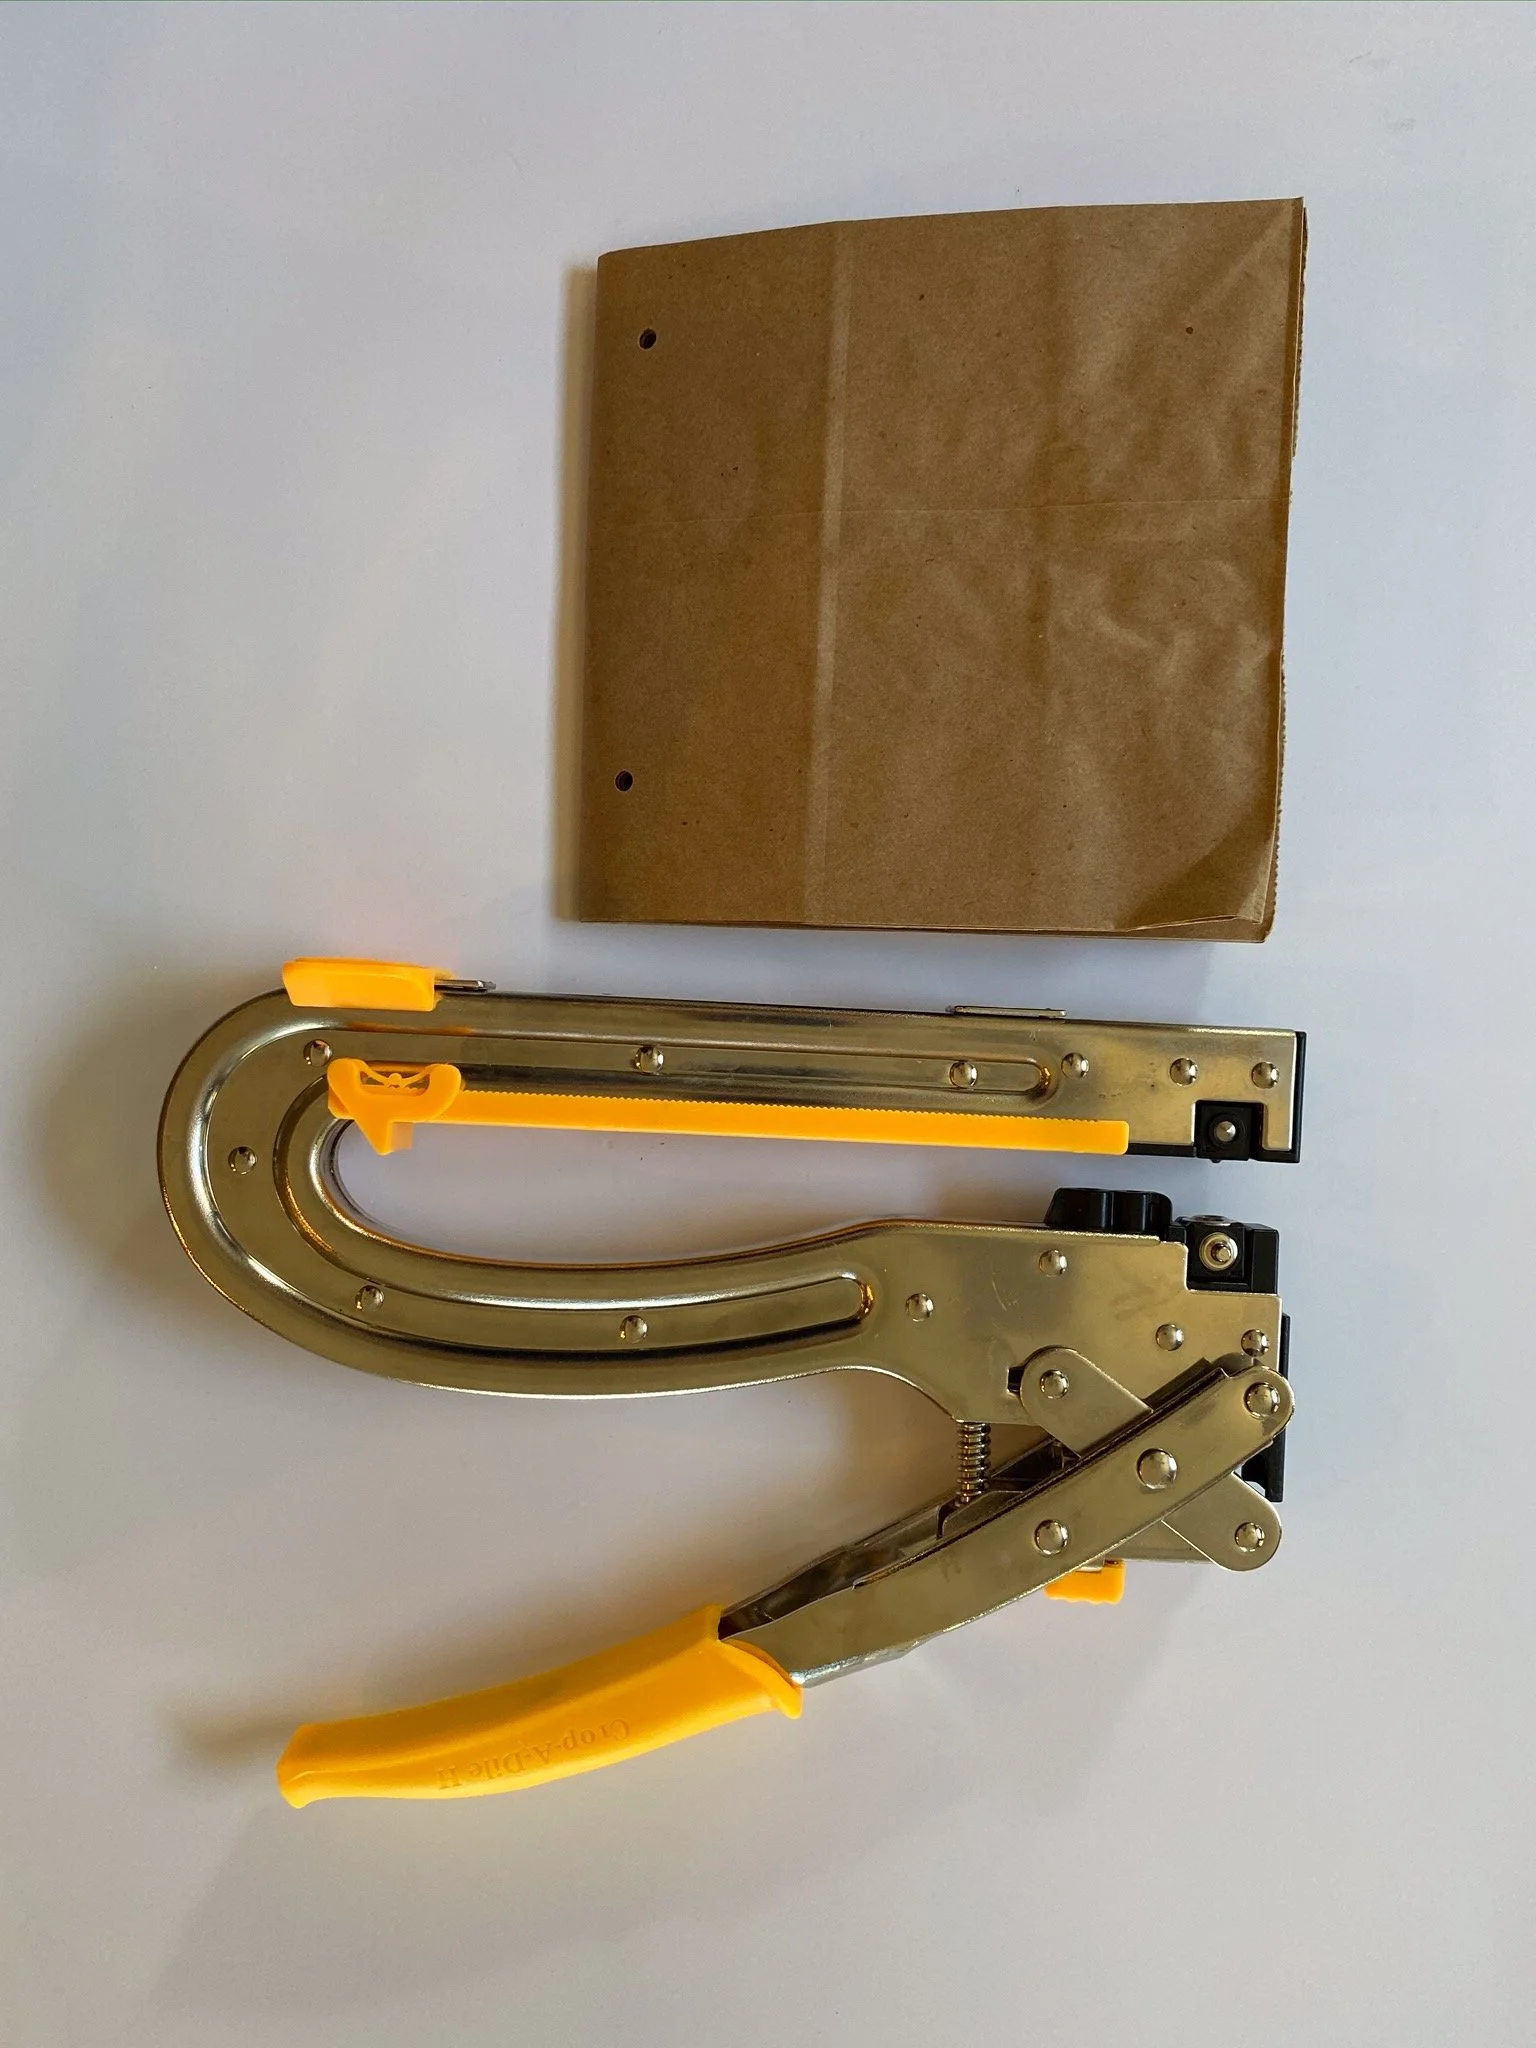
2. Layer bags and fold down the center, like you’re making a book. Use hole punch on left “spine.” I made two holes.
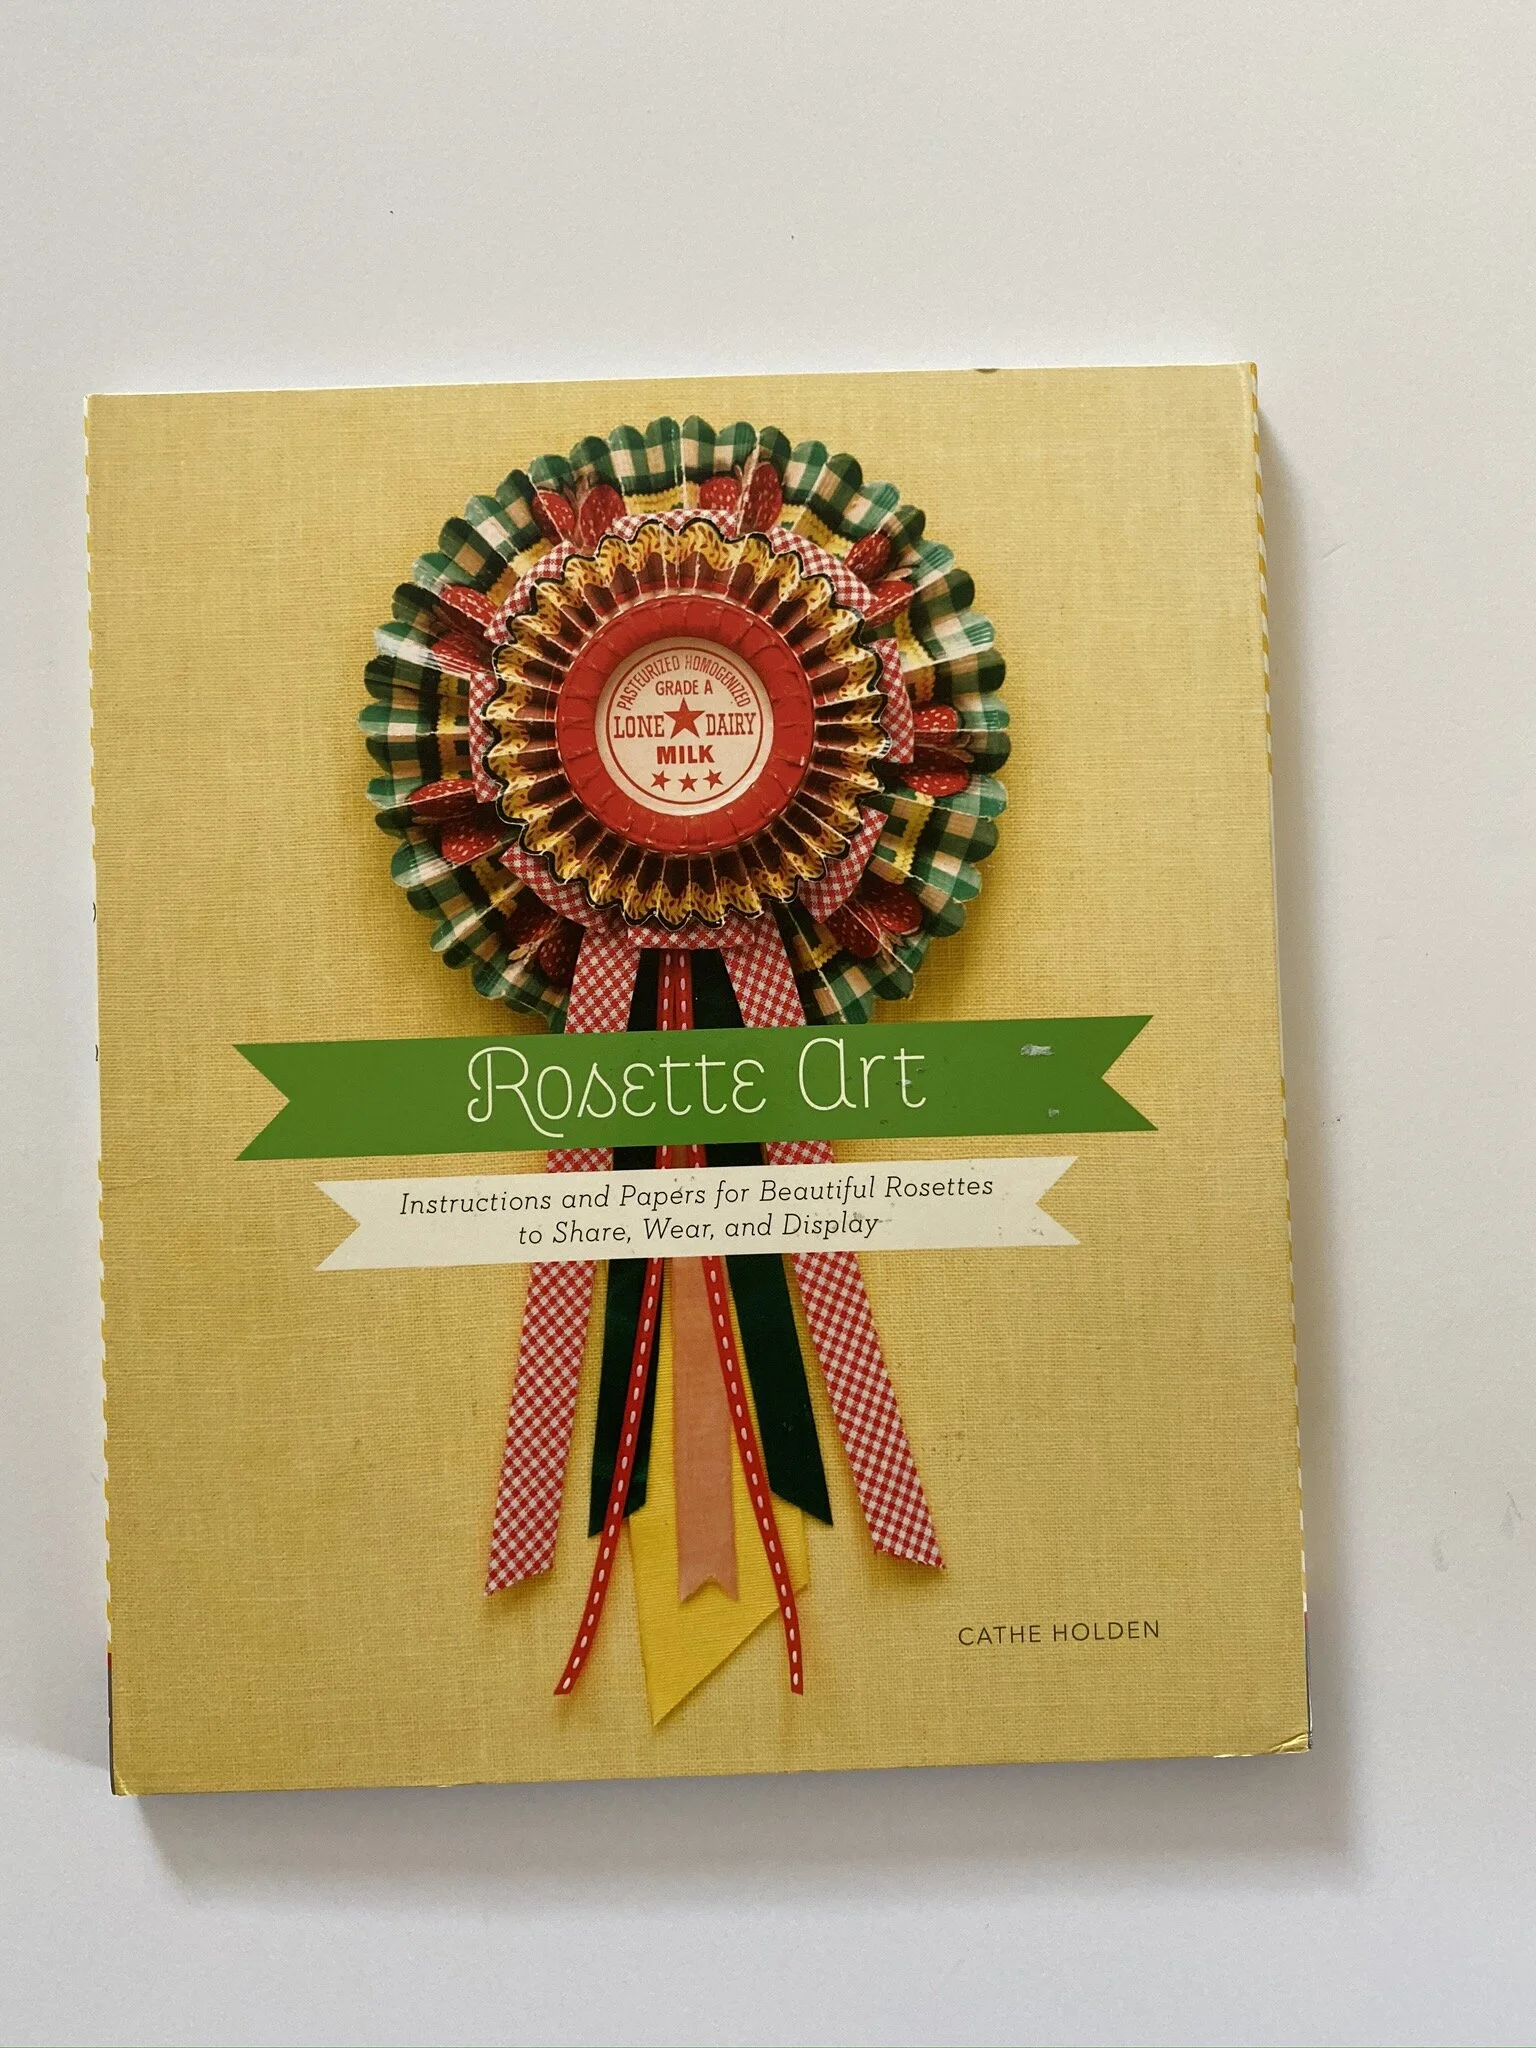
5. Rosette tutorials are all over the web, but I happened to have this book handy in making my own.
The great thing about paper bags is that each end of the bag becomes a pocket for photos, ticket stubs, or other things you want to remember these special days.
3.Brad are an inexpensive craft supply! I happened to have this set that I found on a clearance rack years ago!
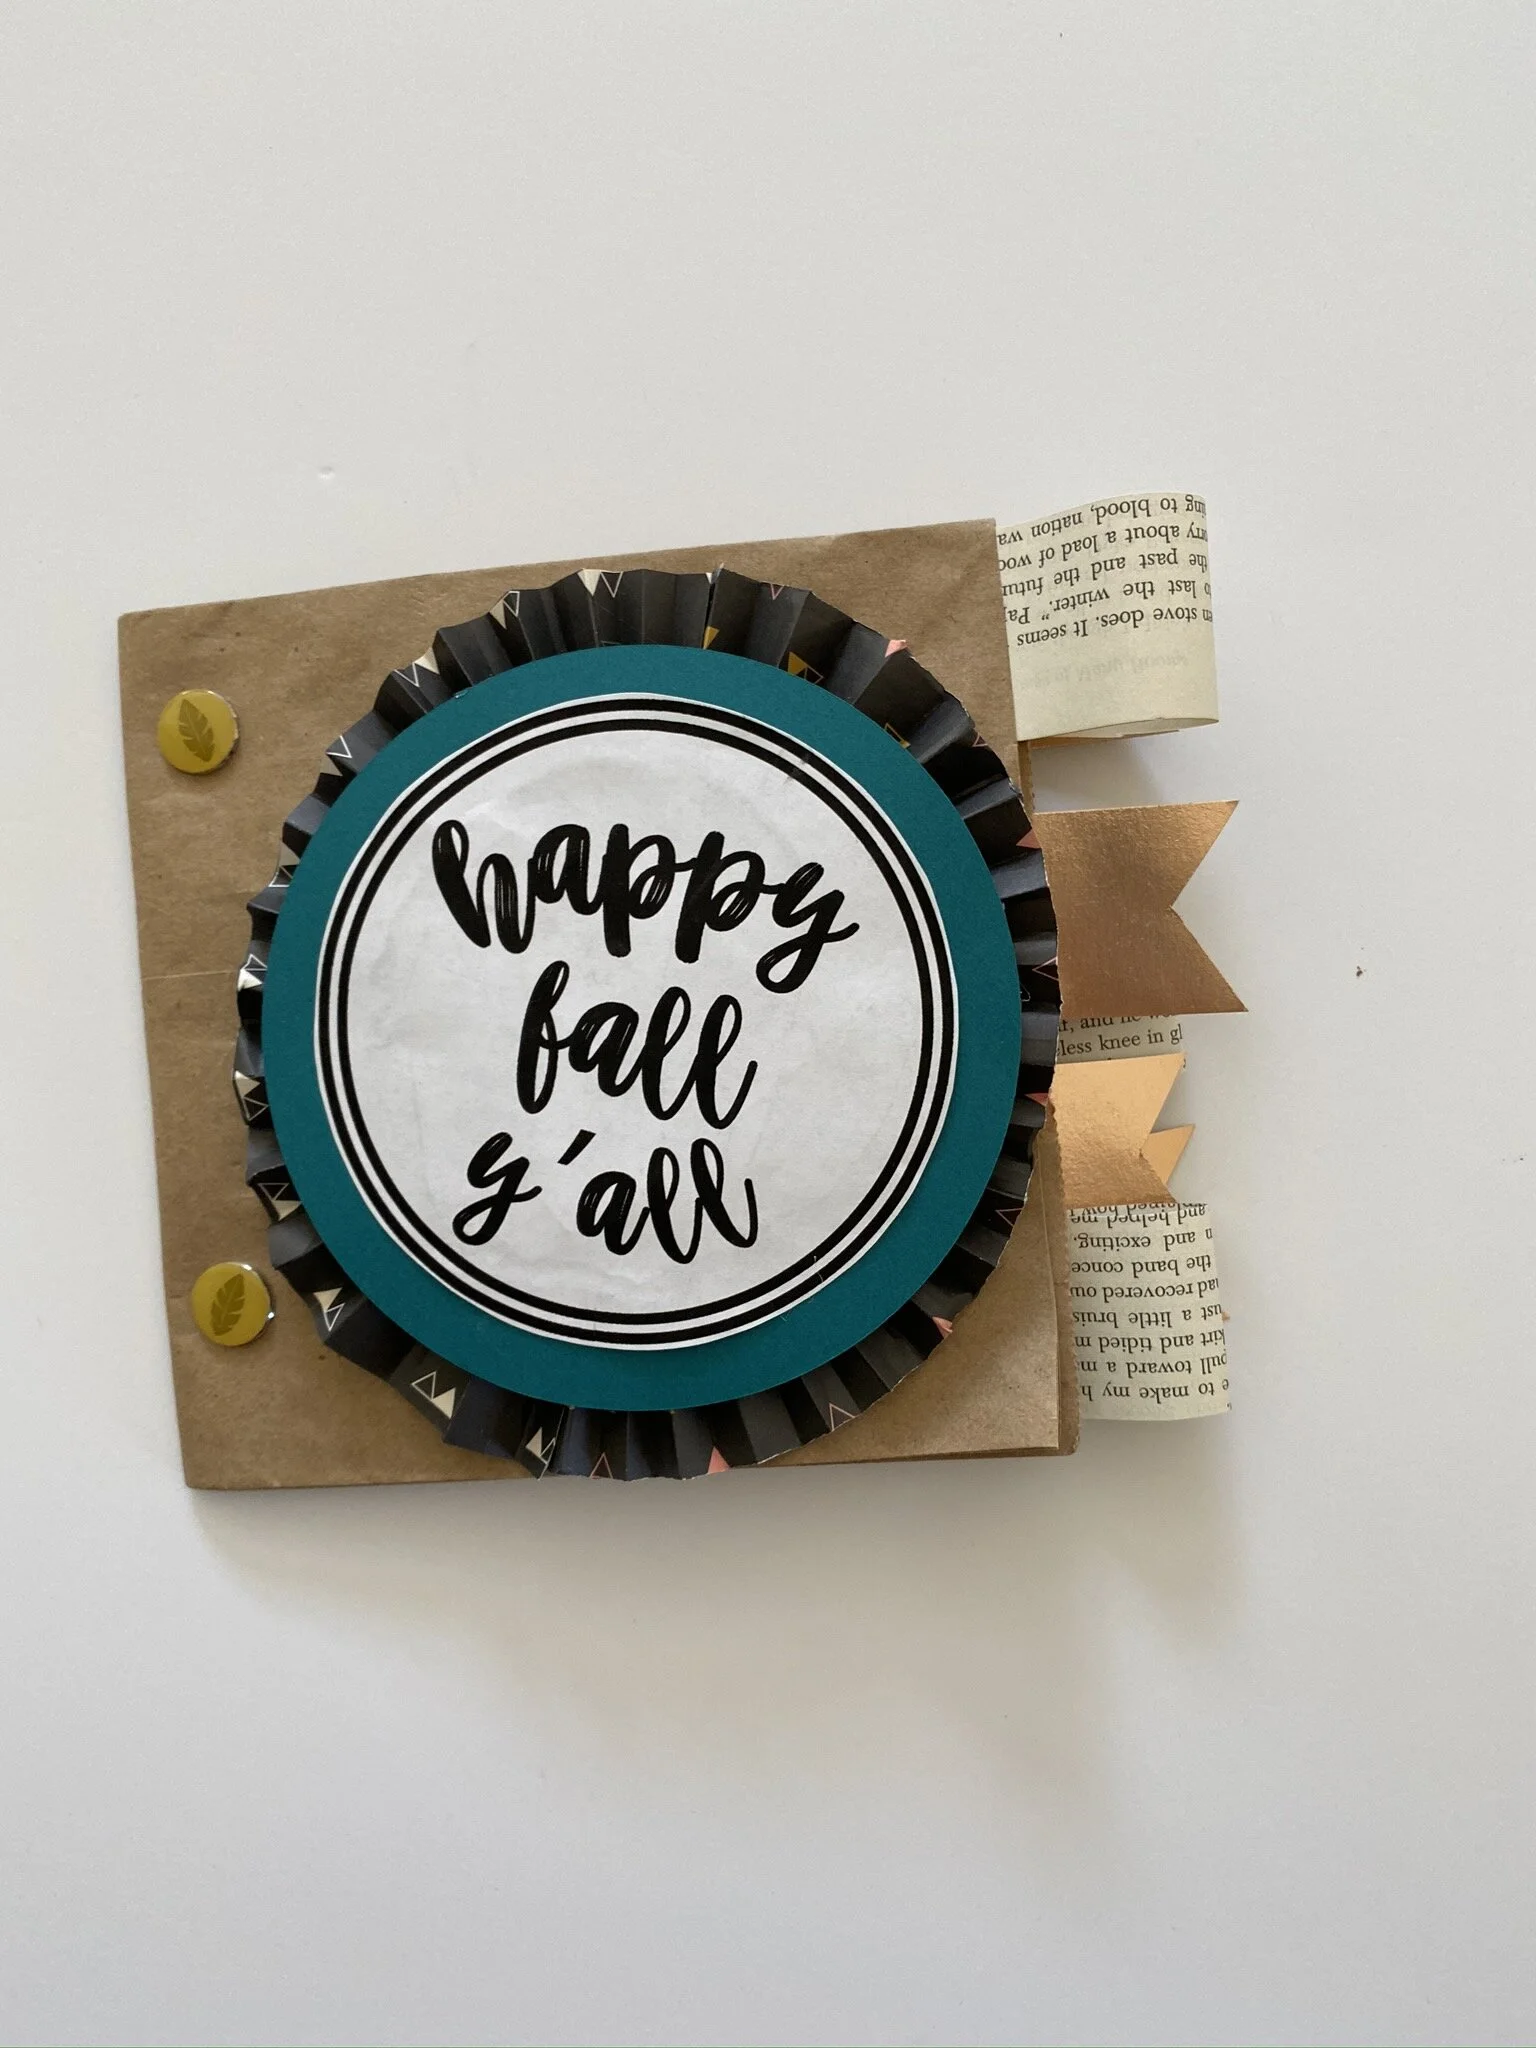
6. Voila! A couple little additions and the fall journal is complete. I cut pages from an old book to make loop tabs for the book pages. I also used copper cardstock to make banners for the other pages. Regular teal cardstock to dress up the rosette and my fall journal print thrown on top! I used hot glue for the rosette and the paper adhered to it.
Here’s an example of my neighbor’s journal. I was surprised that the boys wanted to make this, but they were so excited to take them home and fill the pages up!
“Let’s give ‘em pumpkin to talk about.”


